Life, Loves, Crafts, Cooking and Chickens.... Not as boring as you may think...
About Me
- Drdoolizzie
- An attempt (albeit probably a foolish attempt) to document my way through learning new crafts, sharing my love of crafts i have already learned and generally just a housewife wittering on about the 3rd love of her life.....Crafts!
Friday, 17 October 2014
The perils of a crafter moving house!
Wednesday, 4 September 2013
Vikki sponge cake
I named my vanilla sponge with clotted cream and strawberry jam filling after my little sister, firstly because she has spent most of her life having to tell people her name isnt victoria its vikki, secondly because she is one of the most inspirational people I know! And thirdly because she is beautiful much like this cake! (even if I do say so myself!) So little sis this one is named in honour of you!
Start with my basic sponge recipe of equal amounts butter, caster sugar and flour and 4 eggs per 8oz of flour, (depending on egg size) this is based on medium eggs.
For this size cake I used 1lb of each or equvialent conversion (im old fashioned)
And I used half a dozen large eggs.
Cream together the butter and sugar, I mean really give it some welly, the aim here is to get the butter and sugar to lighten in colour and become light and fluffy as we beat air into it, add some good vanilla extract, dont use essence its all chemicals!!! Or use vanilla bean paste, 2 tsps of either one is fine. Mix it into the butter/ sugar mixture. Add your eggs and a tablespoon of the flour, the flour at this stage stops the mixture splitting. Add the remaining flour and a quarter cup of milk and mix well. Dont be tempted to over mix though because this will aggitate the gluten in the flour and your cake will be all spring no sponge! No one wants a cake to twang!
Seperate the mixture between two prepared sandwich tins and bake on gas mark 5 for approx 30 mins, depending on your oven, check with a skewer if it comes out of the middle of the cakr clean its done, if not pop it back for 5 mins and check again, keep doing this until you are satisfied that your cake is cooked.
Leave to cool in the tins for 15 mins then turn out onto cooling racks, allow to cool thoroughly, turn one cake upside down on a serving plate and slather in jam and clotted cream (devon or cornwall your choice) pop the top on, sift over with icing sugar for no reason other than it looks pretty, top with strawberries and serve!!
Try to save some for others though ;) x
Bertie bear
I love to knit and while browsing the newsagents shelves for new knitting magazines a pattern caught my eye, it was in a free supplement in Let's Knit magazine called Christmas gift knits, advertised as 8 quick and easy patterns for the whole family!
I simply fell in love with the bear on the cover of the supplement. I decided I must knit him!
I looked through my yarn stash and decided on a Sirdar crofters wool in various shades of blue and set to work. The pattern was simple to follow and my project grew rapidly, bertie bear as I decided to call him was coming to life!
I decided that because of the varying shades of blue in bertie's tummy that to knit the accompanying waistcoat would cover him up too much and I struggled to really decide what colour to make it that wouldnt drown out his mottled appearance. So I just left it out and gave him a dapper little bow made from east of india ribbon instead. Bertie is now much loved and drooled upon by my 8 month old son! Bless good old Bertie!
Little sister's wedding
Oh my cod! Filleting salmon is a load of pollocks!
Saturday, 6 July 2013
Hokey Pokey Chocolate Cake
Choux Fly Don't Bother Me!
Sunday, 23 June 2013
Cinnamon Buns from the Hummingbird Bakery Home Sweet Home cook book
Wednesday, 19 June 2013
Last Minute Birthday Cake Dash!!!
Over the Rainbow Cupcakes
Wednesday, 5 June 2013
Talacre Beach
Monday, 20 May 2013
Nautical Quilt For a Naughty-cal Boy (Geddit?)
Applique Curtains For My Little Sailor
- Measure window, length and width. Make sure your finished curtains will close and still have a slight gather. (I guessed at this and bought fabric that was the same width as the window so that a pair of curtains would add up to double the width)
- Choose your fabric wisely. Ask yourself what you need from your curtains. Do you want them to protect your privacy? Block out sunlight? Look pretty but serve no real function? Once you have decided this you can pick your fabric (Its not all about the pattern its about the thickness and practicality of the fabric too) As my sons room has vertical blinds the curtains only needed to serve as room dressing so I selected a light polycotton blend in blue and white stripes.
- Cut the fabric to size allowing an additional 12cm's in length for hemming (you will understand why shortly) When measuring and cutting fabric remember you cant re-cut it if you cut too short so always always always measure twice and cut once! (having a dad in the building trade taught me this, Its amazing how things can cover a multitude of purposes!)
- Get your iron out.....No I havent completely lost the plot, It is important that yu get the hems straight and this is probably the most fool proof way of doing it. Tape measure at the ready!!! (mine is usually around my neck because my 5 month old son likes to play with it, in fact I have at least 3 of them randomly dotted about the house) fold the fabric over 1cm and iron flat (be careful to make sure it is exactly straight at the edges but dont worry if it isnt exactly straight along the length of the fold because the fabric may not have been cut exactly straight) Do this at both ends of both curtains. Do not sew yet!!!!
- Now you need to do the length of the curtains, do as above and iron a 1cm fold down the length of the curtains and repeat to hide rough edges. Sew these folds in using a basic running stitch on your sewing machine.
- Now go back to your iron and fold over the top and bottom hems 5cms and iron into place. Sew along the hem approx 5mm from the edge. Do this top and bottom of both curtains and you are almost there!
- Attach header tape to the top and stitch into place using the same basic running stitch.
- So tape on the right way this time! We can continue!!
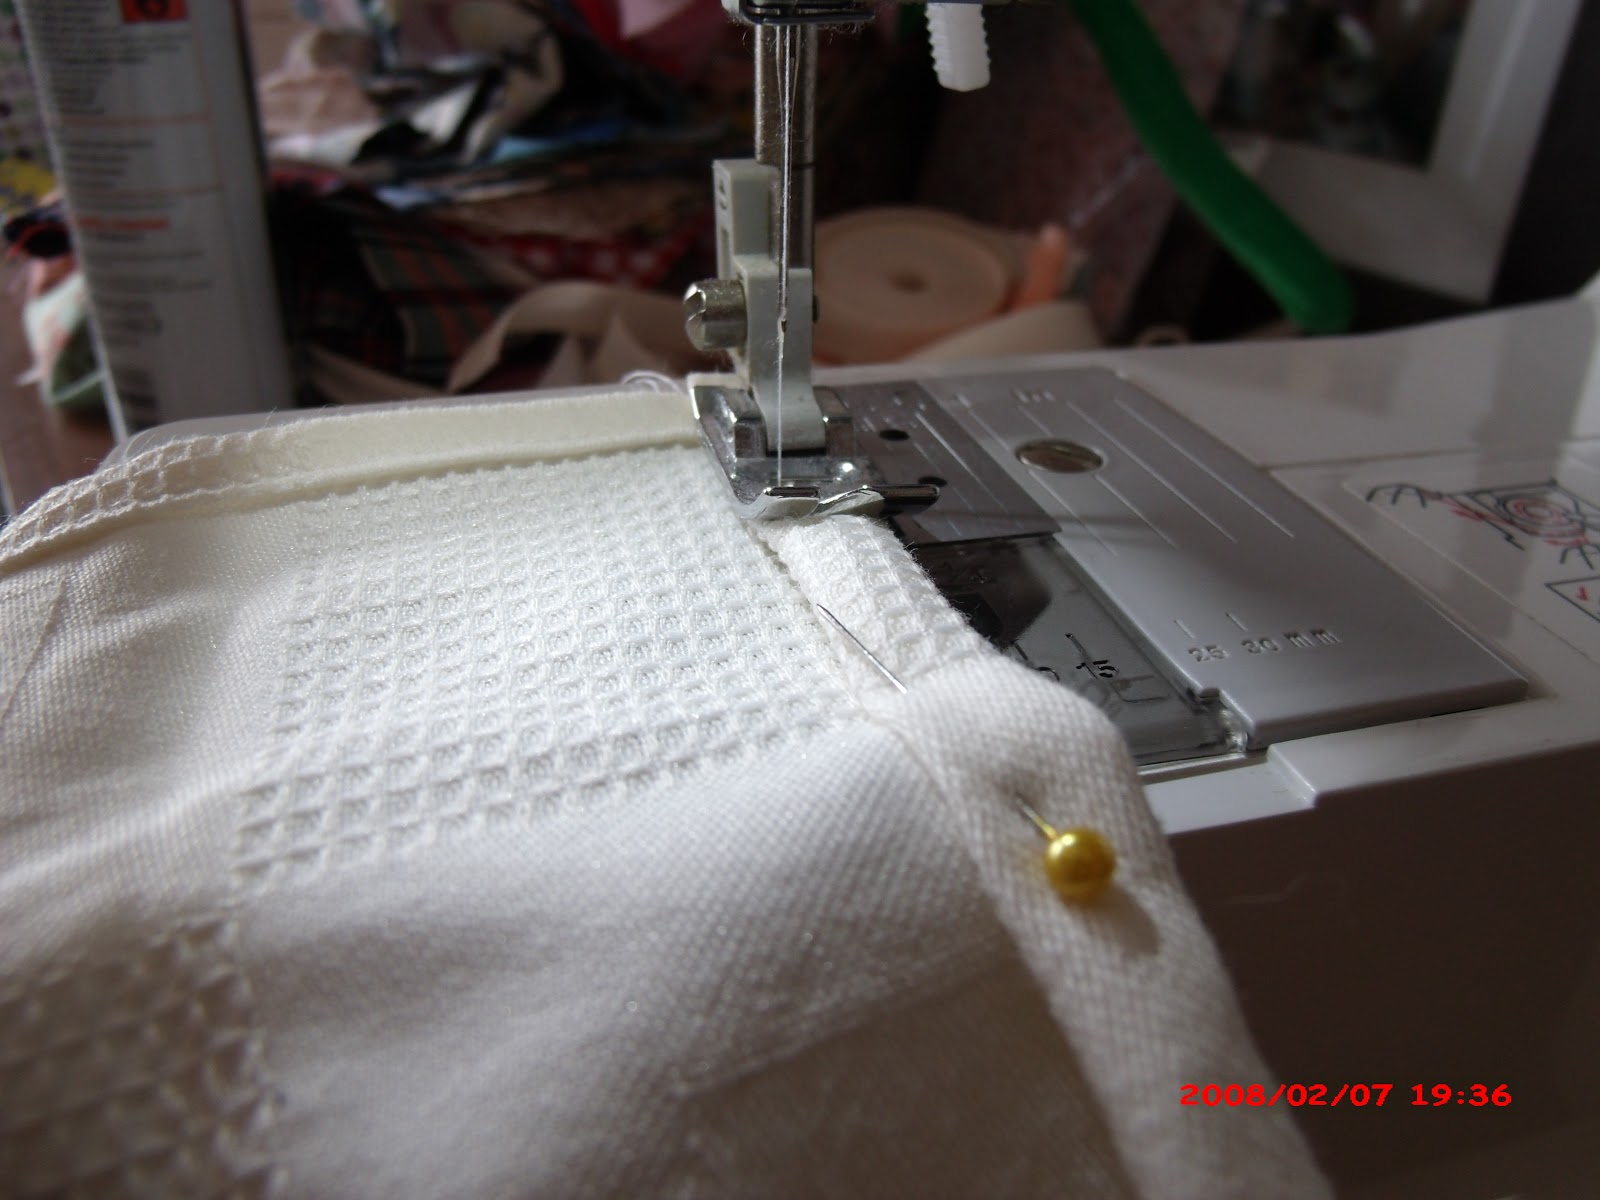
- Once this is done you can hang the curtains after a quick go over with the iron, or if like me you have to go that extra mile you can add applique detail or many other things like bias binding on the edge instead of hemming....let your inner design diva go wild!
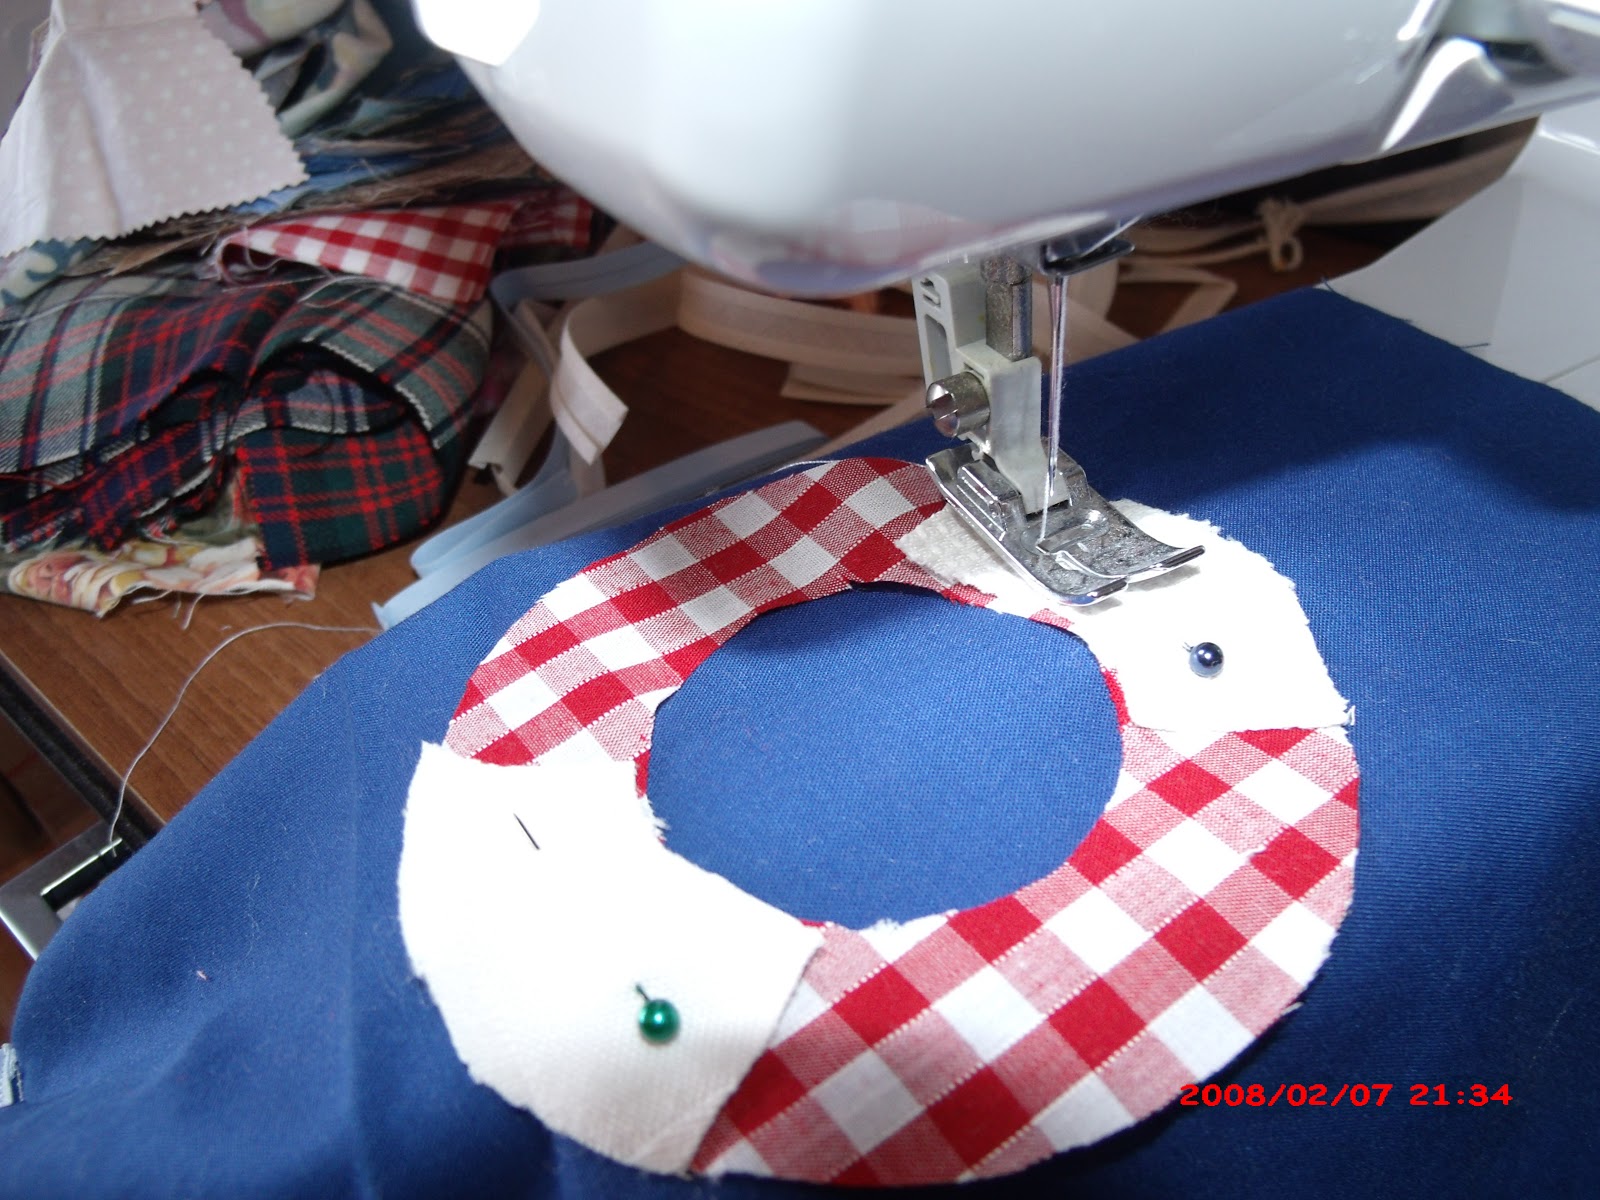
- Cut out applique
- Iron it flat
- Attach it to backing fabric with Bondaweb (you can either buy the type that comes in sheets that you can cut out or if you are like me and always have some handy just pop a few lengths under the applique making sure its not sticking out and iron on in the position you want it to be on the finished product.
- Sew around the applique using a zig zag stitch keeping the edge of the applique in the middle of the stitch. If you are a novice on the sewing machine (if you arent you probably find this blog somewhat boring) then dont be afraid to go slowly, it is better to go one stitch at a time than to have to keep unpicking untidy sewing because your brain has said stop but your foot has been a few seconds behind listening to it! Beware puckering too, it doesnt look pretty hence my constant ironing to keep the fabric as flat as possible!
Saturday, 11 May 2013
Doughnut Cupcakes!
- 70g (2 1/2 oz) unsalted butter, softened
- 210g (7 1/2oz) plain flour
- 250g (9oz) caster sugar
- 1 tbsp baking powder
- 1/2 tsp salt
- 210 ml (7 1/2 floz) whole milk
- 2 large eggs
- 100g (3 1/2oz) strawberry jam (or just spoon it straight from the jar and save yourself the bother of weighing it)
- 1 tsp ground cinnamon
- 100g (3 1/2 oz) caster sugar
- 250g (9oz) plain flour plus extra for dusting
- 1/4 tsp salt
- 1/2 tsp baking powder
- 35g (1 1/4oz) cold unsalted butter cubed
- 35g (1 1/4oz) caster sugar
- 1 large egg
- 125ml (4 1/2 fl oz) whole milk
- 1 litre (1 3/4 pints) sunflower oil for frying
- First make the sponge. In a free standing electric mixer with the paddle attachment (or hand held mixer, or good old muscle) mix the butter, flour, sugar, baking powder, and salt together to form crumbs.
- In a jug mix together milk and eggs
- Mix the wet and dry ingredients til they form a smooth batter. ( this is quite a wet mix and if like me you are used to the equal measures method of cake baking and getting quite a stiff batter dont be phased by the liquid type batter this makes)
- Fill the paper cases to 2/3 full
- Bake for 20-25 mins or until golden brown, check they are cooked by lightly pressing the top of the cake and seeing if it springs back.
- Leave to cool on a wire rack
- While the cakes are cooking get your cinnamon sugar ready, I wont patronise you by explaining in detail how, just chuck the ingredients in a bowl and stir!
- Now for the doughnuts (in my opinion the best bit) Sift the flour, salt and baking powder together in a bowl and rub in the butter to form crumbs. Add the sugar and mix.
- Put wet ingredients in a jug and whisk to break down the egg, add to the dry ingredients and mix to form a dough.
- Turn out onto a lightly foured surface and either roll it out using a rolling pin or do like i did and squish it down with your hands. Cut the shapes you want (book says small rounds but i didnt have the right cutter so i just used a knife and cut into squares)
- Heat the oil in a large saucepan giving yourself plenty of room inside it. Using a slotted spoon lower the doughnuts a few at a time into the oil and fry until medium golden brown, carefully lift out of the oil and set onto kitchen towel to drain.
- Let them cool for a few minutes before tossing in the cinnamon sugar and setting aside to cool fully.
- put the butter, icing sugar and cinnamon into a bowl and mix til there are no big bits of butter then slowly add the milk. Now whisk like the holy clappers of hell OR let a machine do it for you until the frosting is light and fluffy.
- Gently cut a small well into the top of your cupcakes and spoon in half a tsp of strawberry jam before replacing the top. swirl on cinnamon frosting and top with a little doughnut.
Tuesday, 30 April 2013
My Chicken Pot Pie
- Put the chicken thighs in a large pot.
- Crumble over stock cubes, cover to 1cm above meat with boiling water.
- Bring to the boil.
- Turn the heat down slightly and simmer for around 45 mins or until the chicken thighs are cooked through.
- Remove the chicken thighs from the stock and retain the liquid.
- Allow to cool and remove the skin and bones from the meat, set the chicken meat aside.
- Cut up the bacon into strips, In a frying pan, or in my case in the Paella dish saute the bacon in a little olive oil until browned slightly.
- add the flour and cook on a medium heat, stirring all the time for approx 2 mins til the flour absorbs the fat in the pan.
- Using a ladle add a little of the retained stock at a time to the flour mixture until a thick-ish sauce has been created. Stir continuously to avoid lumps.
- Add the chicken to the sauce.
- Roll out the pastry on a floured board
- Put the chicken and bacon mixture into your pie dish
- Put the rolled out pastry over the top, crimp, stab a hole in the centre to allow steam out during cooking.
- Cook on gas mark 6 until the pastry is brown and risen (approx 20 mins)
-
My 'Whip it up quickly' Chocolate Cake
- Cream together the sugar and butter til it is light and fluffy (this can take a while and an electric hand whisk can be your friend here).
- Add the eggs and 1 tbsp of the flour and whisk until fully combined (the flour stops the mixture curdling which can effect the rise of the finished cake).
- Add the disolved instant coffee and vanilla bean paste.
- Sift the remaining flour and cocoa powder together into the wet mix and combine using a folding action (please google this if you arent sure as its important to keep the air inside the cake and avoid over working the flour.
- When the mixture is fully combined, divide between the sandwich tins and level the mixture using a spatula.
- Bake for approx 25-35 mins (this depends greatly on your oven) to check if the sponge is cooked insert a skewer (i use a bamboo one) into the centre of the cake and if it comes out clean the cake is cooked. If you dont have a skewer press the top of the sponge gently with a clean finger and if it springs back it is cooked, if it gives slightly it needs to go back in the oven. If your cake is not cooked return it to the oven for 4-5 mins then check again (it can go from uncooked to over done in less than 5 mins)
- Allow to cool in the tins for around 10 mins, then turn them out onto a wire cooling rack, it is important to have them on a rack like this because it allows the air to circulate under the cake allowing for even cooling and avoiding a steam build up within the cake which can effect the final product.
- When the cakes are cooled fully smear a little of the frosting onto the surface of your plate or cake stand to stop your cake sliding off. put the least pretty cake on the bottom with the top facing up. smear with the frosting and pop the second cake on top in the same way. Top with the frosting and decorate to suit you. I used fresh strawberrys with mine but you can use anything you like. A cadburys flake crumbled up or some malteasers dotted around the edge might be nice... or both! Whatever its up to you, have fun with it! If its fun to make then it will be fun to eat!